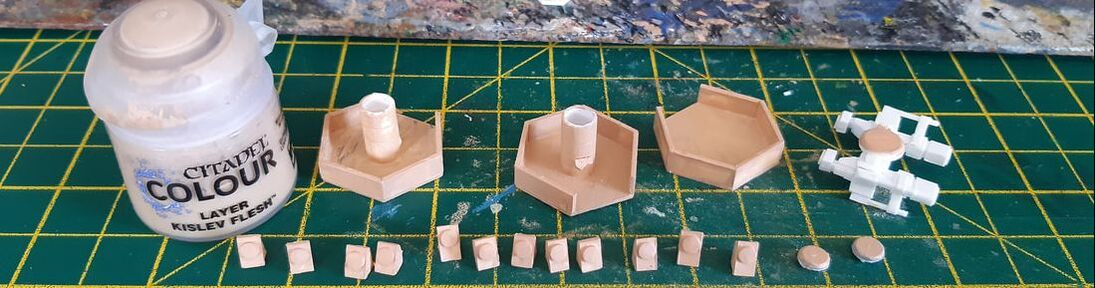
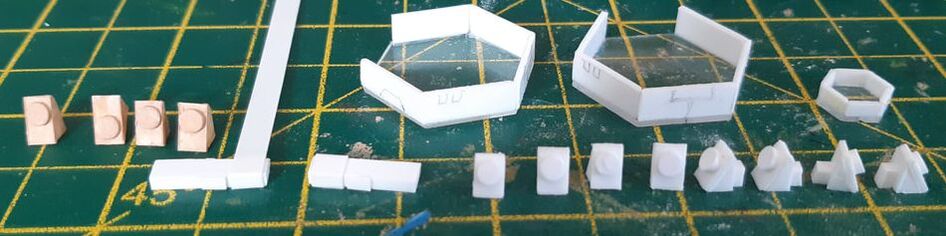
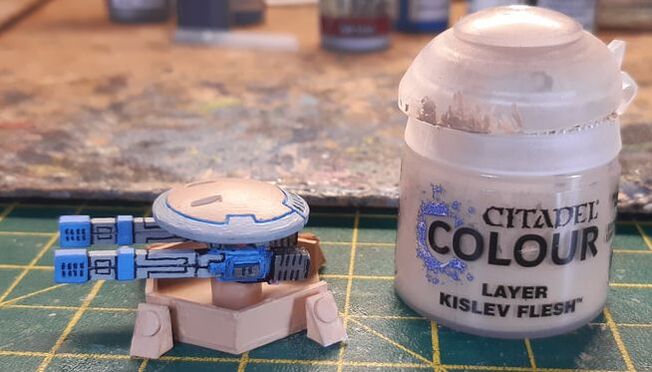
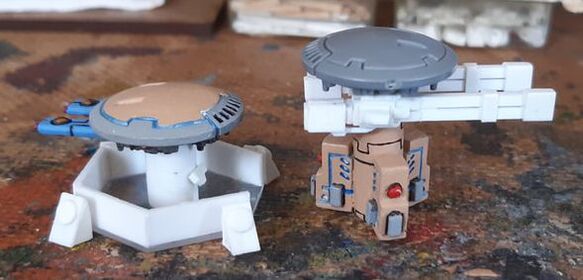
There's a heat wave and muy back is the window while working on the models, so the tube light adds too much heat that doesn't help. It's either too hot or too cold to work. However I endured the heat to get at least something done. However I still had not purchased a new pot of paint so I decided that I had nothing to loose and added water to my gloopy remainder. Luckily it worked out well enought that although there were still little bits, I managed to base coat the three bunkers and the other pieces to start painting, Despite this success, I'm not sure how long the paint will last in this heat if I need to patch up some mistakes.
0 Comments
It would have been easier glueing the Ion cannons to the central column, however I wanted it to be removable. To complicate things more, I didn't want to use the 40K Drone or the smaller Drone shield. So I had to cut out circles and didn't want the disc too big either, leaving me a very small edge to glue the cannons to. Then to top it off, I added an epic base with small rods to the base so I could paint the red drone sensor. Hopefully as complicated as it gets... until I decide to add some pop-up minature missile launchers or something ridiculously complicated to make.
The main components of the Ion Cannon now completed and its time to commit and glue them together. Only then I can start adding the layers and detail. I just hope it turns out how I want it without drastically wanting to change it... although I wish I made the front of the barell longer already!
circles, although they will need sanding down to make them thinner. I even started the Ion Cannon with it's curved top barrel... and yes, I'm trying to wrap the plastic around the sanded round top. I just need to be patient and wait for the glue to dry rather than try and pull the other side tight to only realise the first side has shifted.
Twelve more triangles to go and I just hope this isn't going to be a long wait. I think previously I was using hunting for scrap pieces regardless of thickness. This time I was using large scraps of same thickness, but don't think this will be easy. I can't even remember how I managed to make these last time. Luckily I only needed four per bunker, less than the first design (hence some left-overs from the Tau Towers). Also the small single man bunker (not really) was more difficult, considering the walls were much smaller, especially trying to fit the last wall piece. Think I will be only making one of these. No signs of starting the Ion Cannon, despite I do like the design, this cannon will be hard to make with all the angles and arch like barrel shape.
I can't believe this took me almost two hours to make two base bunkers. I was using spare pieces of plastic so each wall was cut to the correct height and length with the sides sanded to make better joins. They were also carefully glued and aligned on top of the hex base, a few noticable mistakes I made with the first. I didn't glue the walls to the side of the hex base as I did that with the towers and they don't sit flat. I'm planning to leave one bunker open without weapons so I can place a few Tau Fire Earriors (standard soldiers) and the remaining for a pair of Ion Cannons, this time the plan is without the large drone roof. The final small hex base... well if I have time, that will be another smaller Tau scenary piece :)
I'm so glad that I used a full length rod for the barrel and wrapped the end with thin plastic. The overall look is so much more satisfying (and straight). Although I'm not sure if I could replicate this on the smaller size Battlesuits,
reference. Once I put the weapon I made against the Drone disc, it looked familiar. Looking at the 40K models I had on display, I wondered if all my effort was pointless when I could have just straight up used the 40K equivilant... or I need some additional epic details to distinquish the different scale...
|
Categories
All
Click here for Category definition
Archives
April 2024
|