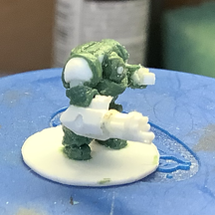
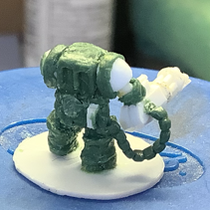
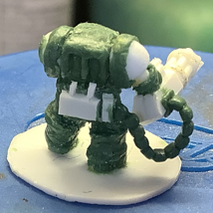
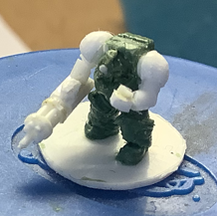
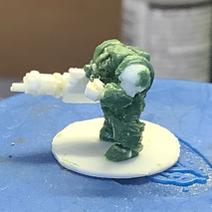
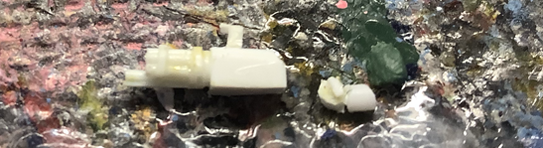
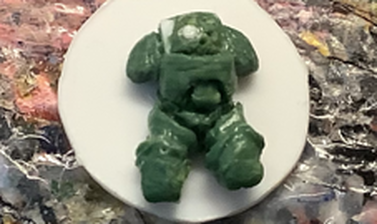
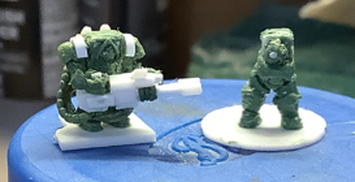
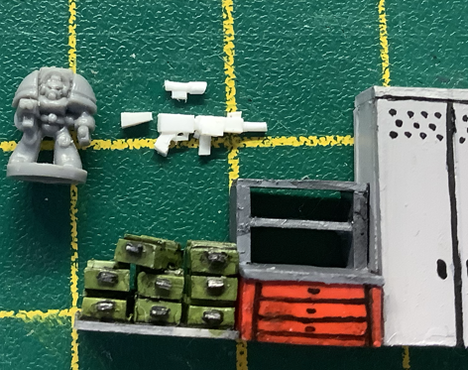
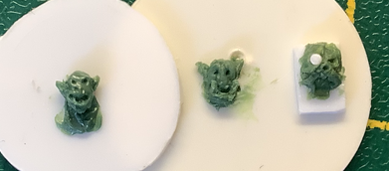
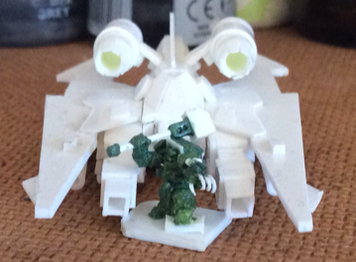
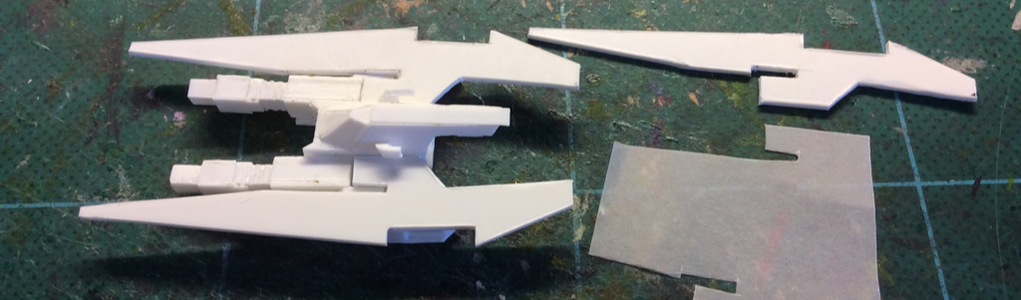
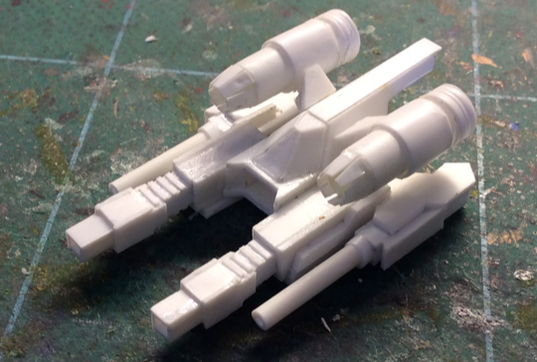
So I took the challenge and tried to make plastic shoulders, sanding the end of a rod and then slicing the bottom. I only had a few rods in several thickness, so the end result needed a bit more padding, hence the green strip along the side. Next time if I try this, I need to remember not to cut the shoulders so short so they stick out a bit more. I padded the wrist guards and then the last hardest part was the ammo feed. I used the tentacle maker for this, flattened it out and then even tried to straighten the indents too. After a lot of effort, this Chaos Terminator is complete.
0 Comments
I'm sure I swore never to make a Gatling (or similar) weapons again, but after two attempts, I have 6 rods stuck around a central piece. It's thicker than the Tau Burst Cannons, however does seem correct scale for my Terminator. I even managed to wrap a thin piece of plastic around the rods. As I wanted an iron fist, I decided not to do it with green stuff and used plastic instead. Extremely fiddly trying to get the fist shape right without it being just a square piece and the thumb... but I was impressed with the end result that I started thinking if it was possible making one purely out of plastic!
Even though I was trying to take my time, I ended up doing both the waist and the legs the previous night. I even tried to make the legs less flat with one further forward than the other (ignoring the back for now). Unfortunately the following morning the green stuff had settled back on itself to a flat position. This reminded me a lesson learnt previously as I added the foot to get it the correct height as the previous model. The model would likely sink as the green stuff sets so I was forced to mix plastic to the feet to ensure this didn't happen. Adding plastic is always difficult as the greenstuff doesn't stick so well to it, but luckily as its the feet, the green stuff entirely covered the bit of plastic..
I'm deliberately taking it slow as I know it takes a while for green stuff to set, as I remember even after several hours wait, I still could potentially squish any previous detail I did. A lesson I'm still learning the hard way. The Terminator's head will likely look larger than my previous two I made and I now want to re-do the old ones! The Orks on the other hand is just keeping them smaller than my first model is the important part. The original one with a mask I started a long while ago has been abandoned as it was too large. Talking about too large, as I was waiting for the green stuff to dry, I started on a rifle to place on the table. It looks much too large, but I'm not going to reduce it considering it'll be placed on the table. So hopefully less noticeable and harder to compare.
I glued on the top engines, then decided to cut it off and see if I could make it removable, then gave up. Glued them on again, then thought I'd take a picture without them. Overall the engines were glued on three times. I'm still undecided whether I like the engines (true to one of the images I was basing this on), or leave it off and be more like the Hell Blade. The hover jets on the bottom was a dangerous task as I was holding something small between the fingers and pushing a drill bit spinning 5,000 rpm to make the hole, but luckily no blood. There is the angled stand too, however without the top engines, it tips forward due to the weight of the weapons. Luckily if I decide to leave the engines off, I can take this apart and add some weight into the rear end of the fuselage.
The amount of scrap bits are piling up and I'll be adding it to the existing multiple trays of scrap pieces. A lot of these will be useful for making my Tau Battlesuits, but I wonder if I'm past the point of letting go of some of this junk. The slotable pieces that fitted snuggly was getting loose, hence I need to try and finish this soon before the pieces just fall apart. I just need to finish the engine exhaust and detailing beneath it before deciding whether to mount the large jet engines onto the chassis again. Hopefully it'll be done if I don't decide to add more removable details.
After getting the cuts wrong in the first wing to slot it against the fuselage, I needed a better way than eye balling the cuts. Originally I used a piece of paper, but was subject to the same issue of requiring a good eye, but at least less wasteful if I got it wrong. Then I realised I had some decent tracing paper that was slightly thicker than the paper, but also transparent enough to trace the shape I needed. Hence I was able to cut the slot needed without having to guess at the cuts. Another piece of hardware to add to my hobby. While making the wings, I left the engines off the fuselage and wondered if this was more in line with the Hell Talon, but I loose a lot of the original concept I was aiming for. However it does mean I don't have to find a solution on how to make the engine exhaust bigger.
|
Categories
All
Click here for Category definition
Archives
April 2024
|