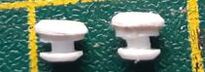
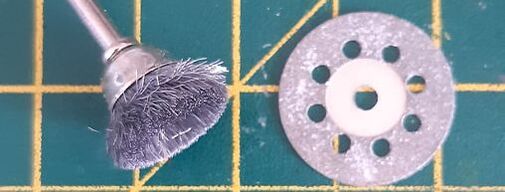
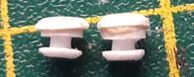
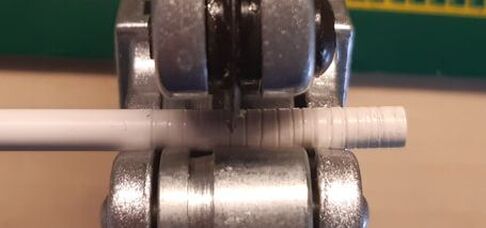
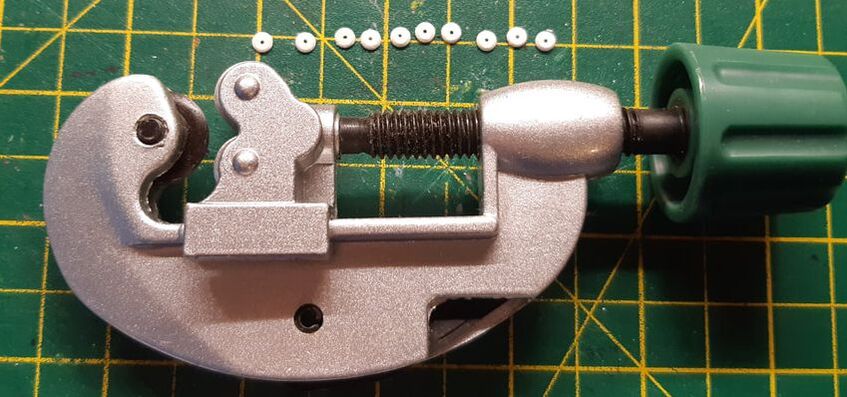
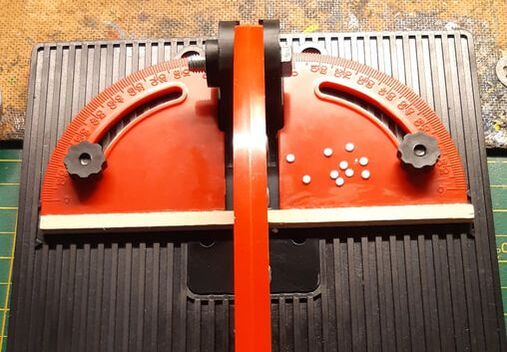
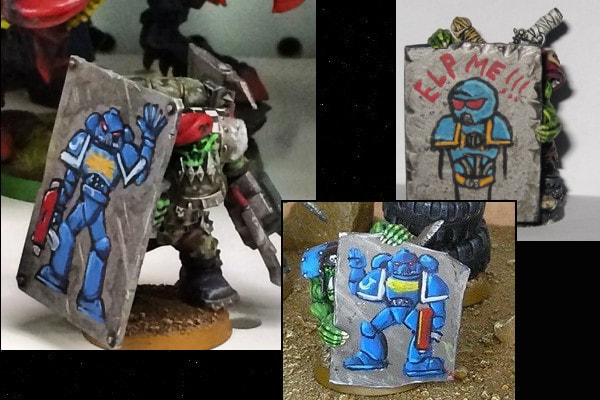
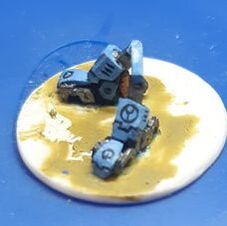
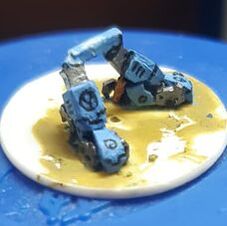
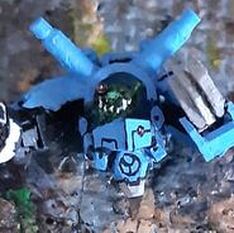
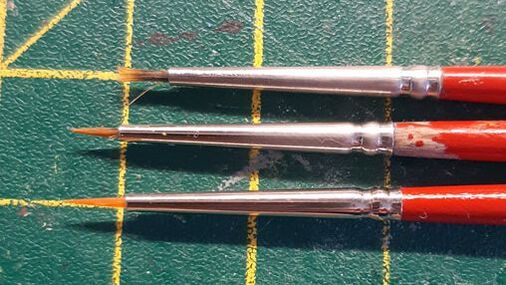
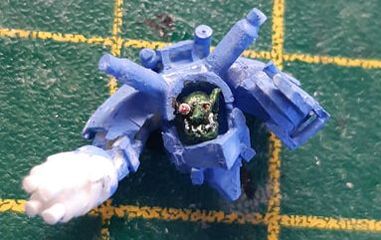
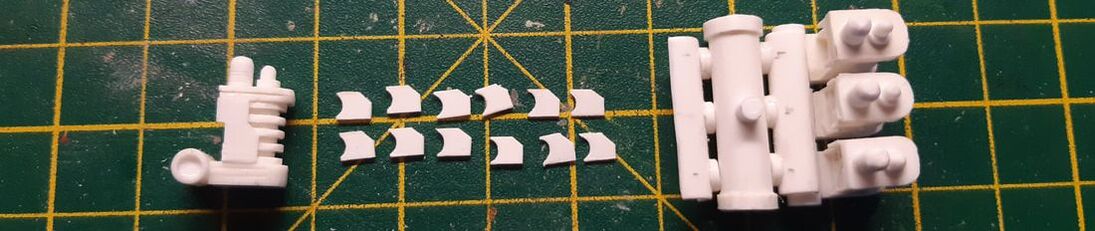
I thought starting off with some shield Drones would be easy... I was wrong. The 4mm "Super" Styrene rod is immune from the melting effect of my liquid glue that I use, although it did mean I could melt my plastic shavings easily to fill the hole in the middle. The next part was trying to add the different layers; a 3.2mm followed by a 1.6mm and another 3.2mm. As I have a problem with detail, I was trying to get this perfectly aligned in the middle. Then I had the problem trying to rotate it due to the uneven surface and trying to balance the over all layers so it wasn't lopped sided. This was a very bad idea :( And a picture of my sanding disc plus ~22mm in diameter that I used to curve the edges of the Drone discs and the steel brush I used to get the plastic off it.
0 Comments
I'm suprised how restrained I was painting this as I was so tempted to go overboard with more detail. Although the final result looks a bit femaine, I didn't want to try and alter it any more. Without an Ork holding this, how do I categories this post?
Now do I want to start an Imperial Guard category? Or even post the few painted Imperial Guards that I have with the hope one day painting my small horde of Imperial Guards... Unlikely, until I have anything decent. Hmm... I can't even remember where I stashed them along with my custom epic Commissar Yarrick.
I believe I'm finally recovered after 28 days laster! Although I've barely started and getting a little tired, so potentially this will not get very far. It's the Easter week and I need to save my energy to keep the two kids entertained. This little project is based on some other models I've seen and although out of place along my various Ghazs, it puts the "P" in CaPCon (Cosplay and Prop Convention). The Commisssar for reference of size and I'll probably keep the shape of that random piece of plastic from my bit box.
I was still painting this Ghaz in three parts which made painting easier, but also meant needing to handle it gently so that I don't rub the paint off. Worse yet, at this stage of painting, I was making minor Cuts so the backpack would fit better and modification to the bottom of the torso so that it would mount on the legs without being unbalanced. I was still reluctant to squeeze the bottles of paint, trying to use the paint at the tip of the bottle and also the paint that had overflown down the side of the neck. This was more Paste than a liquid paint and became increasingly difficult to draw the fine black lines I wanted. I eventually decided to squeeze some paint into my paint tray and managed to get a droplet of decent black liquid paint out without it all flooding out! Although despite trying to use it all, there was still some left that had dried too quickly for decent line painting. I've had this paint tray for years now as evident of the thick layers of dried paint. I guess some of us still recognise where this came from?
I'll have second thoughts next time I decide to use designs with curves. It was a lot of sanding to get these curved side pieces to fit against the pipe at the back. As I had a limited space due to lack of planning, these had to sit flush with the end of the pipe rather than extend further like the original model. Making this removeable also makes things worse as I had to add the same detail for the middle thiner TPRs. It's unlikely I would remove these or use them as individual pieces, but having that option is better than regretting not being able to.
|
Categories
All
Click here for Category definition
Archives
April 2024
|