
| Well not something entirely different, but different to the recent angles, straight lines and proportions... well I'll probably have to deal with the last one even with these three. Its been a while since I used green stuff, so it's nice to do this. And it started off as a single head for the next Chaos Terminator, there was that extra green stuff, I then did another Ork head for my Krew, but I made some more and ended up with three heads. I threw away the very last tiny bit of green stuff before I attempted a fourth. | 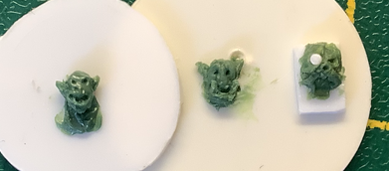 |
|
0 Comments
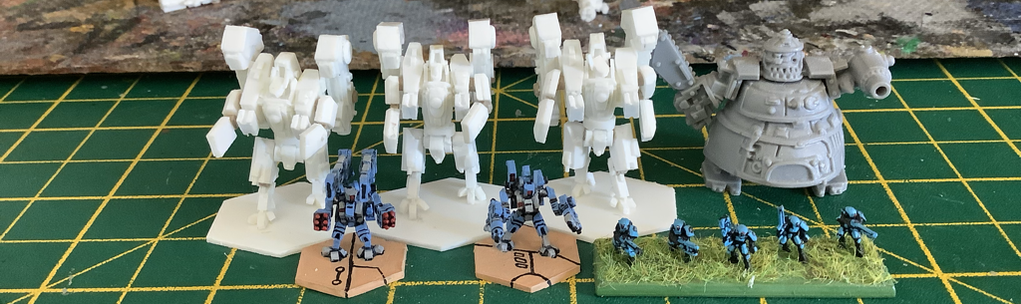 The original intention when basing these Riptide was so I would paint them. However the base was done at random angle and doesn't fit in nicely with the Battlesuit bases. Parts had fallen apart needing re-gluing and the lower body took some minor modification to align and stick to the waist/lgs. After all that was done, I was still not happy with the upper body as it still seemed slightly too big for the legs. So once again put to the side until I decide whether to start another three with a possible intention to remake these one :(
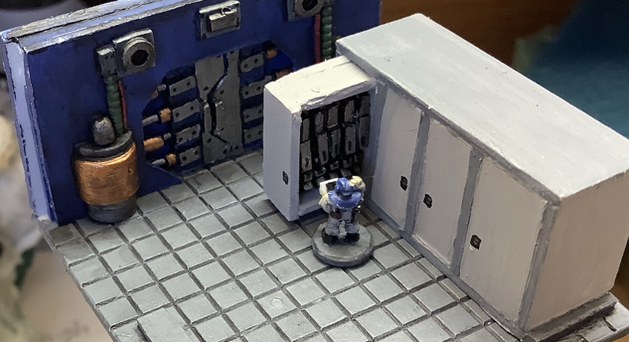
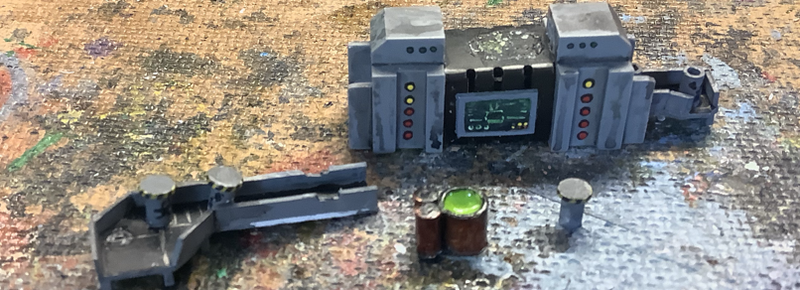 Luckily it was only minor modification required as the large pipe (with the green liquid) went straight up into the lift shaft above it. Even the conveyor belt was designed to slot out of the the RJ45 socket and only needed to be shorted slightly so that the pipe could remain in the centre of the unit and shift so it went into the next section next to the lifts. I'm not sure if this a good thing or not, but means the pipe will lead somewhere that will needs some additional forward planning if I'm not going to be constantly re-working my layout.
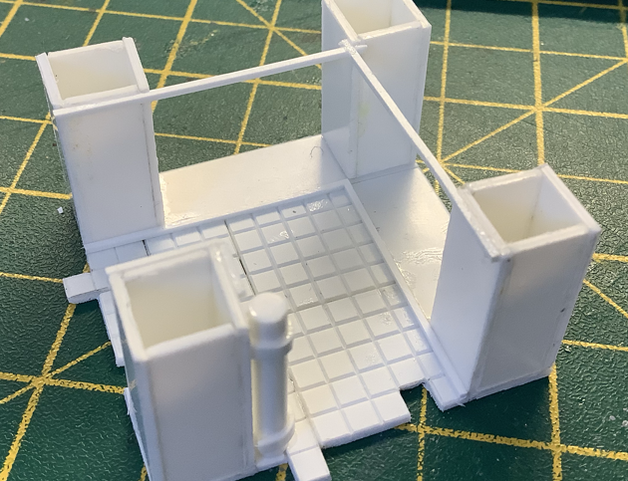
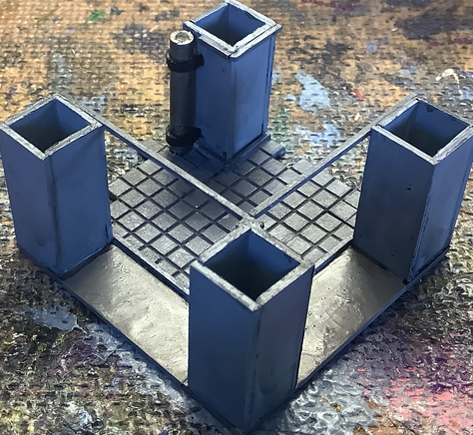
The original corner piece in a previous post was the first. It had a pipe leading up hence the second corner piece on top included a cabinet to cover a corner pipe I didn't want to make. As the corner pillars was much larger than the one below it, I then decided to add the same corner pillars to the original piece (never again as these were too much effort). Instead I just played Tetris and patched a whole load of left over square cut offs (in total 10 pieces) and remade a new corner section. As the upper section had a cabinet for a corner pipe, I had to add a pipe. This set off another inspection of the two basement floors looking at all the plumbing issues (more on that in a future post). Finally the strip along the top and bottom was so that I could add a removable wall between the pillars, but then decided not to bother for now, but knew I'd likely want to do this in the future.
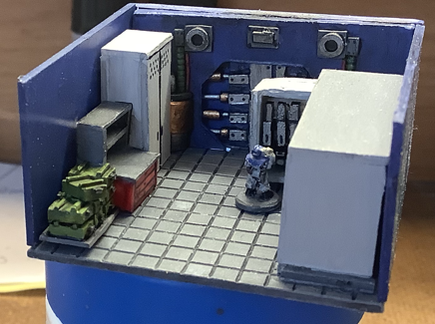
Other than a few minor details and possibly some tools/weapon for the workbench, this piece is finally done. A bit of bad planning meant the far wall details are obscured by the cabinets. but with the added complexity that I worked on results in the side walls can be slotted in and removed from the main wall. The open cabinet at least slides in, but means to open it, I need to remove the wall. Hopefully I'll get around to drilling a hole in the wall so I can push a pin in to slide it out before I resign it to the shelf.
 The Ork WIP has been updated in the background, but I've just never had the time to finish and publish it. I think there were still a few pictures to add, but thought I'd get it published in the Parade - WIP Parade. Hopefully it means that as I finalise my last few pieces on my HQ Base, I can prepare some new pages without having to worry about unpublished content.
Not the smoothest sliding doors, but at least the thin strip of plastic means the left side doesn't fall into the base's hole for the slot of the adjacent piece. Also unfortunately the two doors has too much slack that they can tend to skewer when you attempt to slide it, hence when close it needs a wiggle to get it straight. Now that the interesting part of painted, now to move onto painting the less interesting ammo crates and cabinets. This piece is turning out to be a chore rather than something I'm enjoy making/painting.
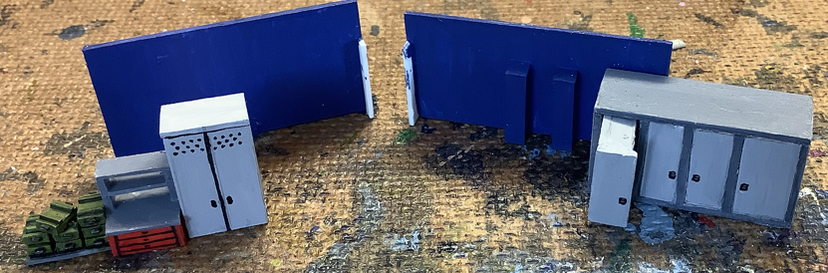
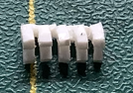
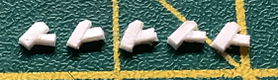
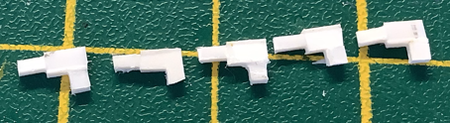
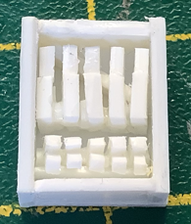
So glad that this will be done in limited amounts rather than anything that I need massive amounts of. I didn't want to waste the purchased ammo crates as I was planning to stack these against the wall on top of each other. So I went about making my own. As they were against the wall, I originally wasn't going to add the handle on the other side of the box. There is one missing from the stack and was planning to do an open one. I've yet to decide if I should attempt this yet. Also luckily I only decided to make one open cabinet, As I didn't want to just paint a flat weapon rack, I went about knocking up some quick weapons and inserted it inside hopefully making it look authentic and easy to paint.
The bottom of the door need the extra lip to slide along a groove in the floor to make it slide better, something I wonder if I remember to do if I ever try this again.
|
Categories
All
Click here for Category definition
Archives
April 2024
|


 RSS Feed
