
Rather than making new models, painting or even taking new pictures to add to my Armies section, I decided to do something a little different. I think it came about while looking for an old Concept using the tag on this blog. Also I like reading old stuff I've written as a trip down memory lane. However I forgotten how time intensive it would be to make new pages and update this web site rather than just blogging. Unfortunately it also meant hunting down old images due to existing ones on other pages were replaced. Seems it's all down to file names and how Weebly should handle duplicate name'd files when uploaded. As there is no feature to manage photos after they have been uploaded, Weebly should auto add a post-fix when duplicate name'd photos are uploaded. Anyway, moaning aside, I managed to sacrifice hours of game time to start this new Concepts to Completion that I'll hopefully continue to populate.
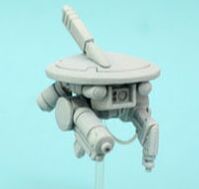
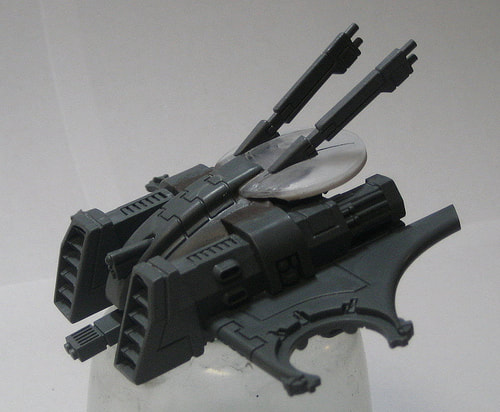
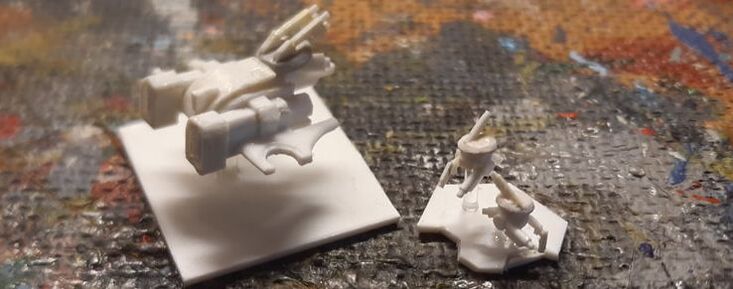 I'm sure I'll be using the welding drones in multiple shots, working on various Tau builds. Shown here was the original idea having the drones 3-D-printing sections of the base that the other Tau are mounted upon. The welding torch already broke off while trying to mount them on the rods. I wish I somehow used magnets instead, but unlikely would have worked well. The Hub Drone is also mounted on a transparent rod and currently a square base as I'm unsure how decorate the base. Make it standard grass/stone or go with the standard Tau bases that I have used?
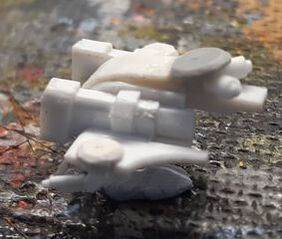
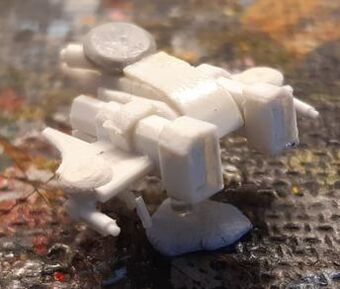
The drones are based off this picture. Once again unsure who to credit for this creation due to the amount of images I've saved over the years from Pinterest. Two drones with welding torch as they would be the ones making the Tau floor tiles. Both fit onto the wing of my Hub Drone, one more snugly than the other. I've also extended the rear of the Hub Drone so it didn't look too short. I was tempted to extend it further to mount more drones, but decided to park that idea. Just a few more detail to add to the drones and potentially completed. I've used some transparent rod for the Hub Drone and currently planning to do the same for the drones.

origin despite google image search). Then I worked on some new discs, sanding them down was not easy holding onto such small items. I had a mini vice that I couldn't find either. Looking for the old post above I found that this site did it again and replaced a lot of the old posts with new images :( It may be time to find a new home.
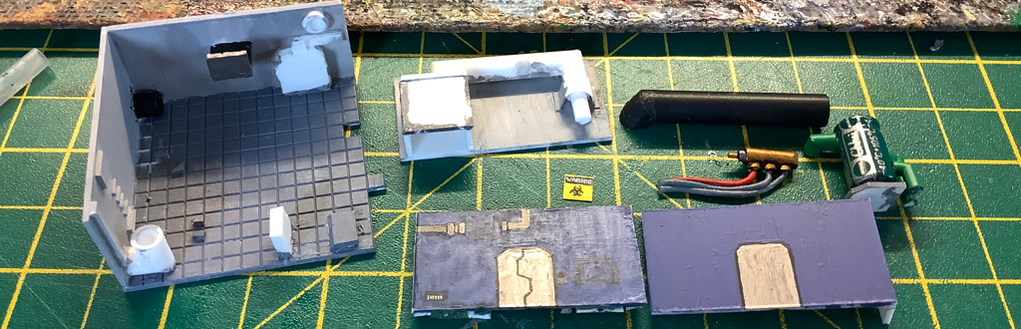
 Bit by bit I managed to get this piece painted. I liked the look of the white pipes hence didn't paint it at all. Even the evidence of the joins and the marks made from the glue didn't look out of place so I left it as is. The front wall is a bit bland, but I didn't have any enthusiasm to add any more detail and wanted to move onto something more interesting. The third piece that I originally planned; corridor piece with the pipes running down the side, would have to wait.
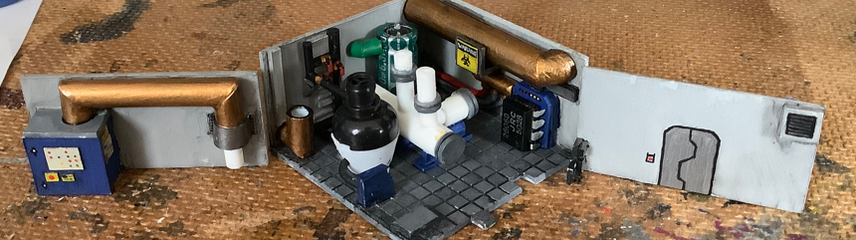
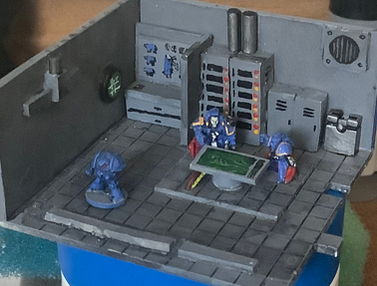
 I made a few minor additions to the Boiler Room, one seen in this picture, but also extending one of the pipe structures so the front of the room didn't look so empty (not in the picture). After googling for a few pictures, I was tempted to make the pipes different bright colours so the place didn't look so drab. I haven't fully decided yet, hence one of the reason this piece is taking so long to paint (and the lack of time due to the games I play). The front wall to the sub HQ room has a painted pipe that I was wondering whether to replace with a real one connecting the Boiler room to the Server Room... I'm making this too complex!
snugly and the base then slots into the original hole in the room. There is a thin piece of plastic glued in place, hence the slot base is slightly raised. This is so that it doesn't drop through when I move the room about. Two magnets removed, but I put one on the single badly made SM that supposed to be working at the console.
 The pipe above the Toxic Waste Disposal was broken off again so that it could be finely adjusted again to align with the pipe above. The black piece that the pipe sits onto is some plastic from electronic component, hence easy to pull off any previous glue used. In this case it was Uhu glue, so that made it easy to just plonk it down in the model, place the floor on top and use tweezers to finely align it.
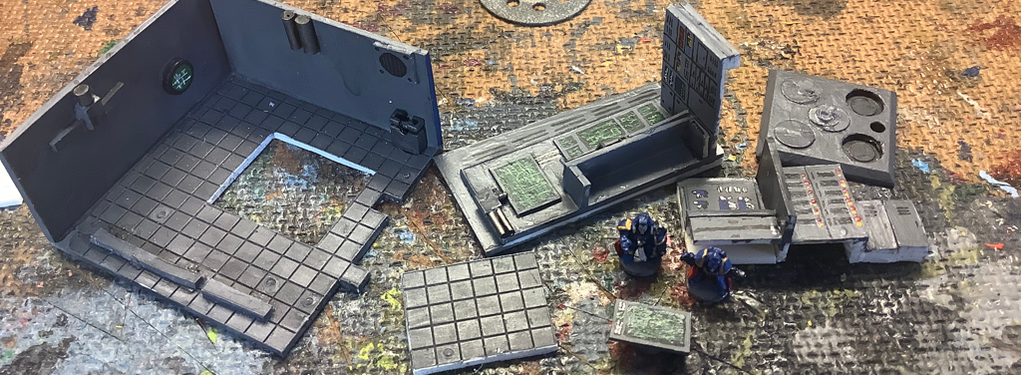
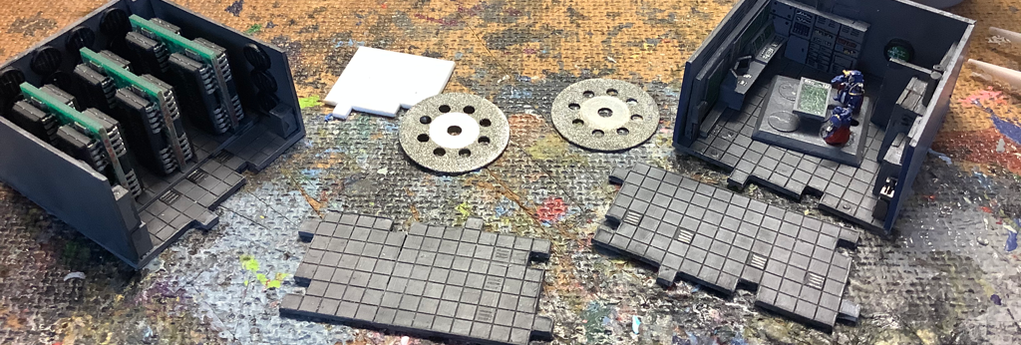 Placing the newly comer pieces into the space, I realised some corridor pieces didn't quite fit smoothly together. These sections were made before I had the solid sanding discs. Hence rather than paint the second room (yes I was avoiding it), I sanded the old pieces so they fit more smoothly. I decided to use a dead-end section (unpainted piece) as the template to ensure all other pieces fit into. Although I'm not sure if this will work too well, as all other sections fitted into my master template, but still had issues fitting into each other :( I also planning to modify the stand within the sub HQ room as the small magnet doesn't keep it in place due to the weight of the models on top.
|
Categories
All
Click here for Category definition
Archives
April 2024
|

 RSS Feed
